


Today you get to meet a blogger friend of mine who has been so helpful in sharing this iPiccy photo editing tutorial for bloggers. Thank you Emma!
As a blogger, you probably already know the importance of a “pinnable” image to go with each post. (And what you don’t know this awesome series is going to teach you!) What is less obvious is how to make that eye-catching image that is going to draw more traffic to your post. If you’re anything like me, you want it to be quick, easy, free…but no less attractive than if you’d paid a professional to do it for you.
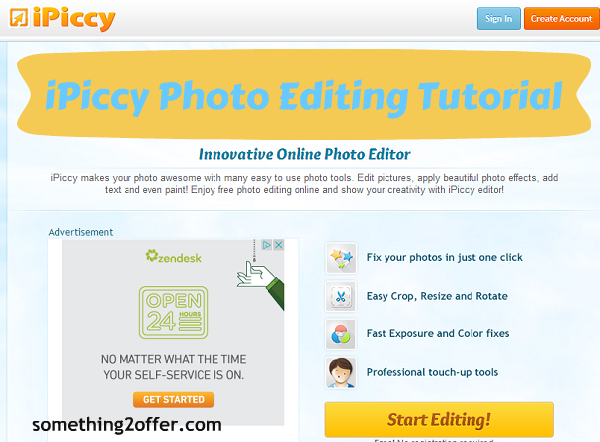
Fortunately, there are some wonderful photo-editing programs available for free. PicMonkey, Fotor, iPiccy, and many more, each with their own strengths and weaknesses. But who has time to go through them all? No worries. Today I’ll tell you what iPiccy can offer you.
Let’s start with the basics. To upload a photo, you click on the yellow “start editing” button which greets you at iPiccy.com. That will bring you to a page with any other photos you’ve uploaded recently. (It’s not necessary to sign in or create an account, though some fonts or special effects will require that you do.) Click on “Upload photo” to choose a file from your computer and then click on it when it comes up. You’re ready to roll.

Let’s use a picture of this adorable chihuahua as an example. I cropped out the clutter in the background (who among us hasn’t had to do that?!) It’s a pretty large file, so I resized it to more manageable pixels (this will help your page load faster!).
To add a bit of text, you click on the “Blender” button, and then the “T” for “add text”. There you can add whatever text you’d like.

Ipiccy.com has a great selection of fonts. This, to me, is the best thing about iPiccy – the fonts. So many people use PicMonkey that the fonts there can be a little…over-used. iPiccy has many styles to chose from – and they’re all free.

This is also the section where you can explore the many vector stickers you can use, or you can even create your own if you can’t find one that’s “just right”. If I was writing a post about a lily pad game, for example, I could go to the “create vector shape” button, use one of the shape templates, and very easily create a simple lily pad to put the title of my post in.

You can even add another photo over your existing image, for a nice layered effect. You click on the “Add photo” button (we’re still in the “Blender” section) and either upload a new photo or chose one you already have available. Then drag it to where you want it to be, resizing as necessary. (To bring elements forward or backward, right-click on the element in question and you can chose to “bring forward” or “bring backward”.)
Sound confusing? It isn’t, I promise. My advice: take some time to play around with it. Get a feel for the different textures, fonts and effects that you like and test out different things. This is the best way to find a style you like and how to create it.
And this is your challenge for today. Try out iPiccy and come back here and let me know what you think. What did you like, what did you find helpful?
You’ll be creating your own snazzy pinnable images in no time!
Happy blogging!
 Emma Craig blogs at P is for Preschooler. She has a wonderful blog that I would encourage you to check out. She loves playing around with free photo imaging tools! If you have any questions or comments, feel free to contact me at pisforpreschooler {at} gmail {dot} com.

I needed this tutorial. I use picmonkey and the fonts and text are an issue. I also haven’t created the best pinnable photo yet, and ipiccy seems to have just the options I need. I am on my way there now to complete today’s challenge.
Elizabeth,
So glad you stopped by! Pinnable images can be tough, but keep working on it and you’ll get better!
This sounds like its easy enough. I’ll see if I like it better than PicMonkey.
Do you know if you can make a watermark with this program?
Danielle,
yes, here’s a link to the post about watermarks:) https://something2offer.com//wp.me/p2C3NH-2Dr